Now that we are beginning to see the light at the end of the tunnel of boxes we have been living in for a few months, I thought it was a good time for an update on the house.
We are still in what we call "phase 1a," which essentially just means we are getting the house to a liveable point so that we can go about our daily lives in a clean home while preparing for the remodel (which we hope to begin within the next year). At last count "getting it liveable" equated to seventeen gallons of paint (SEVENTEEN!) and countless hours of sleep deprived, freezing cold, hard work. I don't have a whole house to show you right now, but I wanted to update you on some of the bigger changes-
The office/temporary "master" bedroom-
Until we remodel and open up the downstairs portion of our home, Nolan and I have set up camp in what will one day be my office. It is small. For the time being, it is a bed with walls. However, check out the before and after, the difference is definitely something to be proud of. Huge props to Nolan, his dad, and my dad for all their hard work ripping down wood paneling (walls and ceiling), running brand new electrical, insulating the room, hanging new rock, and texturing the walls to mimic the old school plaster we have throughout the rest of the house.
BEFORE
My my, what beautiful wood paneling...
Seems a shame to rip it all out, doesn't it? ;)
Nolan prying the first piece off. Poor little room, what did it ever do to deserve such treatment?
Putting the boys to work. They're never to young to learn!
Who wants to see inside?
Too bad. That's as far as the door opens. No really, we're luckily we're relatively thin people.
But once you get inside...
We bought these fixtures for all of the bedrooms, and I couldn't love them more! If you have never checked out
jossandmain.com I highly recommend it. It's like the zulily of home decor, and it's AMAZING!
A little Johnny Cash to live by.
And now to the kitchen, possible the biggest transformation in the place so far. Let me remind you of what we were dealing with here-
BEFORE
Complete with rotted floors, rat droppings, and ancient appliances that more than likely had never been cleaned, EVER.
Yup, she was a beauty to behold.
AFTER

Pay no attention to the missing cabinet door. We seem to have misplaced ONE hinge. Nolan is at the store now looking for another one.
Honestly, the wonders of paint never cease to amaze me.
I had to narrow my pyrex display significantly for the time being, but I like that they are safely displayed out of reach of little hands.
I chose to paint the upper cabinets white, and the lowers pewter grey. Having lived in a lot of apartments where the paint peels of the cabinets constantly, I wanted to make sure we painted ours with something that would withstand our family. I ended up with General Finishes Milk paint. It claimed to be streak free, one coat, and have a factory finish look that once coated with their poly would not chip. I have to say, the grey absolutely held up to all of their claims. However, after about three coats of the white I ended up getting fed up with the lack of coverage and overall streakiness, and opted to use Rustoleum "Painters Touch" as my final coat. I did still use the General Finishes Poly as my top coat, and they seem to be holding up wonderfully.
"Lick 'em and Stick 'em" tiles.... can't beat them for $.68 each! Certainly better than the old rotted out flooring that was there before.
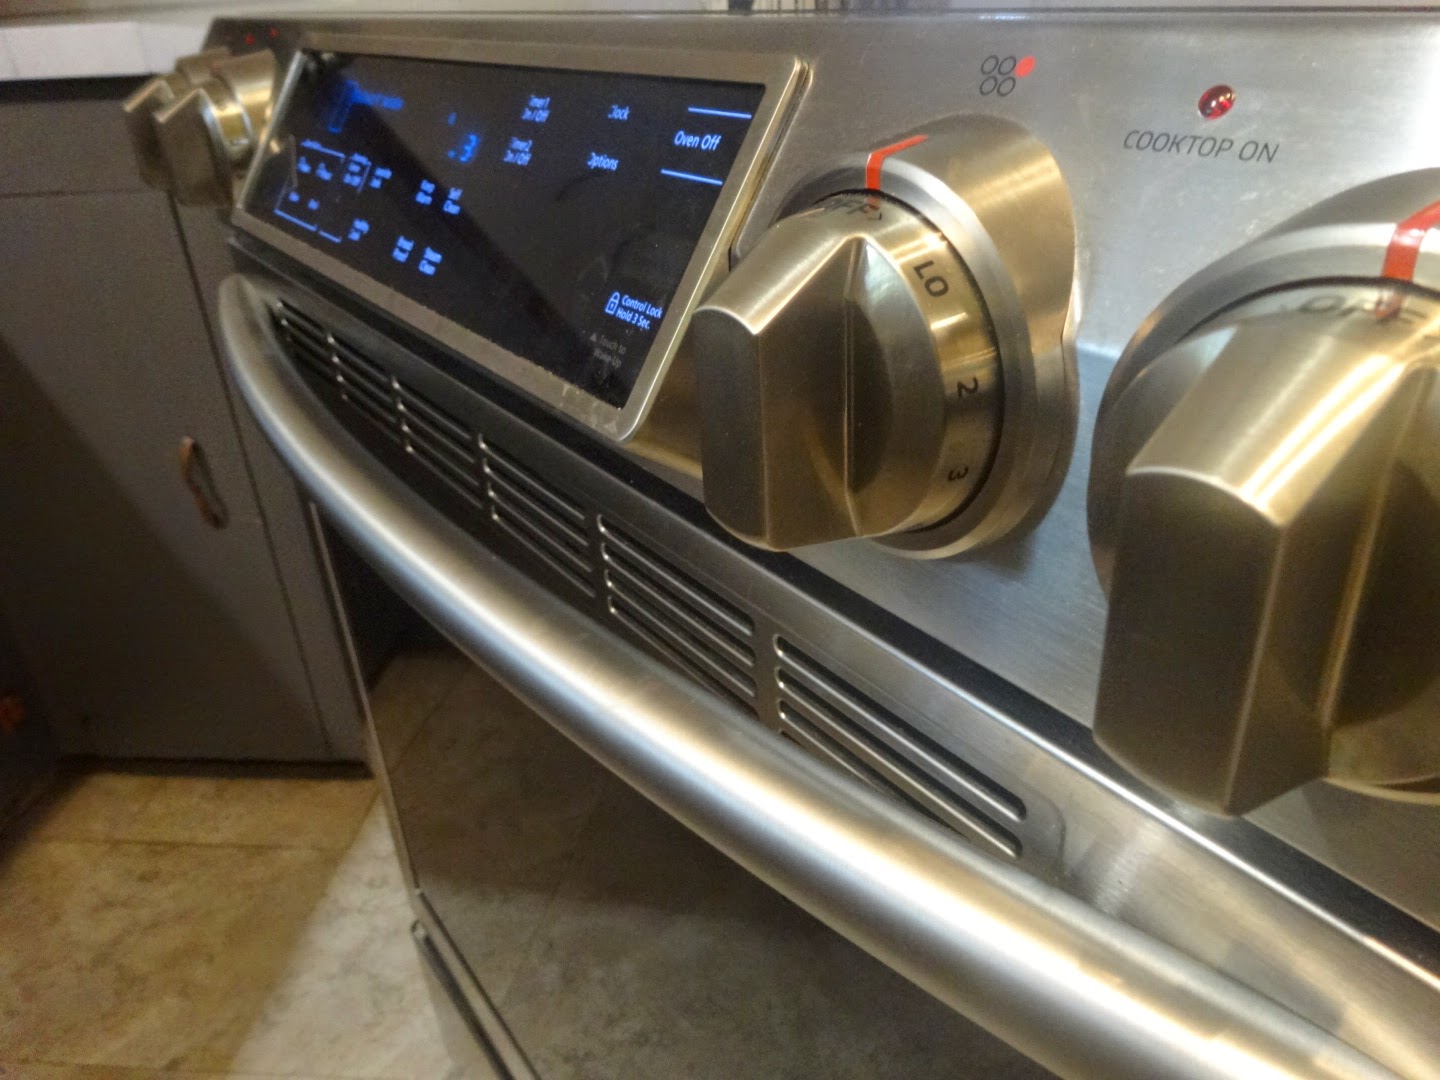
Given that the whole kitchen will be torn down in the near future, we wanted to spend as little money as possible on it. However, appliances were something we were going to need for the new kitchen, so we opted to take advantage of the amazing Black Friday deals at Home Depot, and I am SO glad we did.
Can I just say how much I LOVE this oven?
Those dials... that touch screen...
A little piece of San Francisco to remind us of home. This print was hanging in our first home together, and then thrown into storage when we moved to the bay area. It was a fun surprise to find when we returned to Redding.
I mentioned we wanted to spend as little money as possible on this kitchen didn't I...
Who wants to take a guess at what this is?
Looks like marble, right?
Let me introduce you to a little product called "
Instant Granite." When I was graduating design school the company sent me a sample of their product and I have always wanted to try it out. Now was my chance!
Imagine a really heavy duty contact paper.
Cut it to size, peel and stick. It really is just that easy!
I mean really, isn't that SO much better? We bought three rolls (which was WAY too much) for $29.99 per roll. And with that, the hideous, chipped, rusted teal and gold flaked Formica is gone. A friend of mine came over, walked into the kitchen and said "oh where did you guys end up getting your slab?" put one hand on the counter, and said "Wait... what is this?" It really looks that good. Once you touch it and it isn't cold, it's obvious it's not a slab. Let's face it, we're not trying to trick anyone here, but it certainly LOOKS like a slab.
We are officially moved in, and life just keeps rolling along. I'll update you all with more pictures in a few days!

.jpg)

.jpg)
.jpg)
.jpg)
.jpg)
.jpg)
.jpg)


.jpg)


